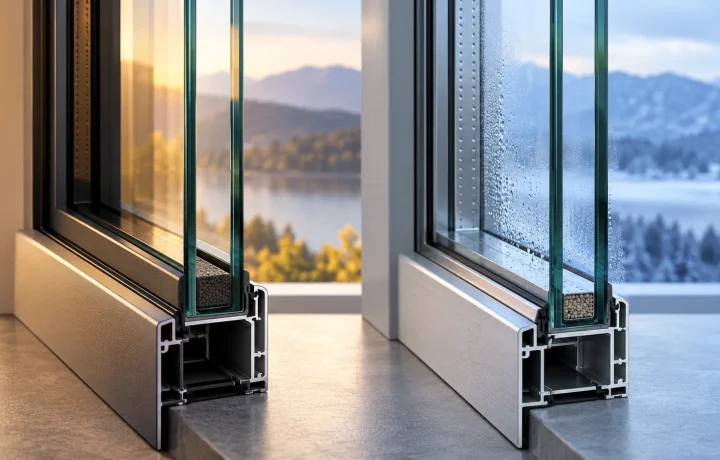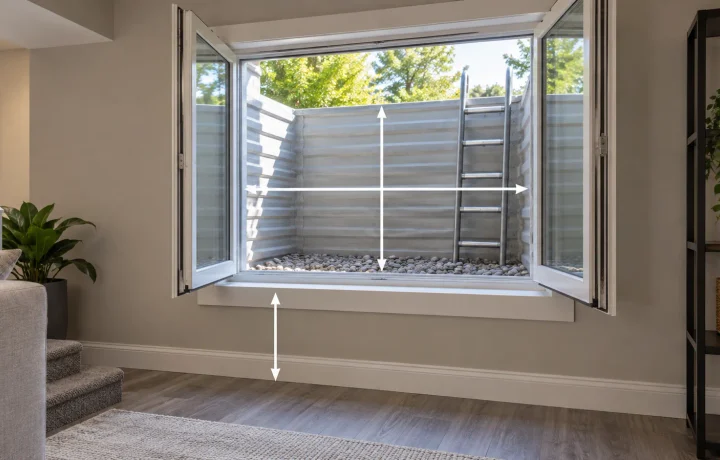
If water remains in the window track after rain, the first thing to check is the drainage path. Dirt, insects, construction debris, paint, sealant and old caulk can obstruct the openings or the channels behind them. But a clogged weep system is only one possible cause of a window leak. If the drains work and water still reaches the interior, the problem may be in the flashing, perimeter seal, sash adjustment, weatherstripping or installation.
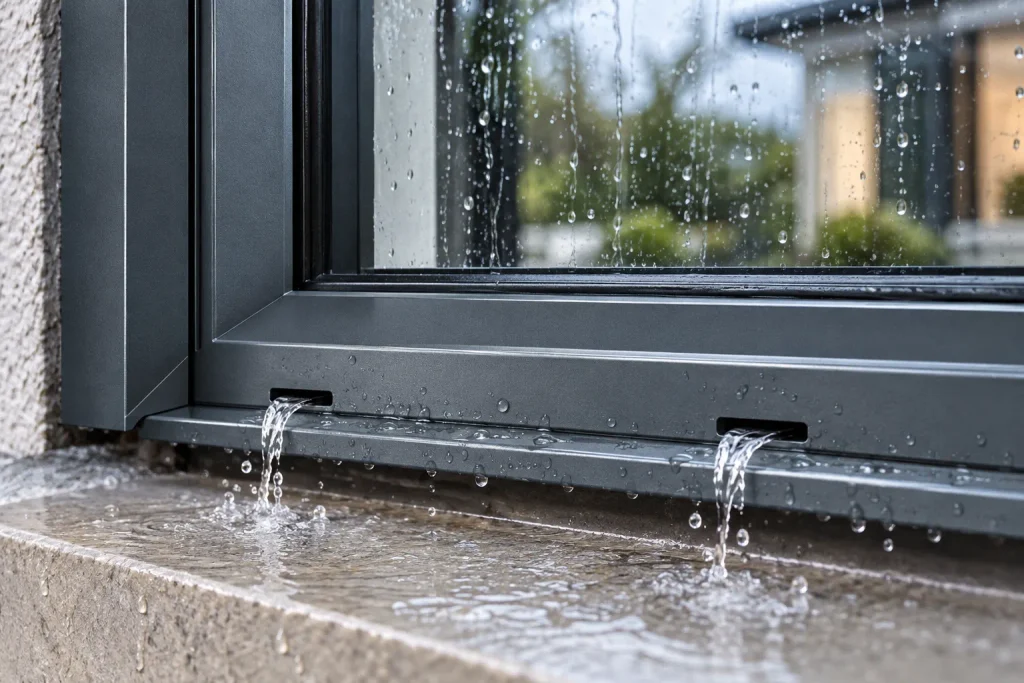
The important rule is simple: never seal a confirmed window weep hole simply because it looks like an unwanted opening.
What Are Window Weep Holes and Why Does Water Enter the Track at All?
Many window systems are designed around the assumption that a small amount of water can reach an exterior track, sill cavity or drainage chamber.
The frame does not necessarily try to stop every drop at its outermost surface. Instead, it combines seals, tracks, chambers, slopes and drainage outlets so incidental water can move back toward the exterior.
That explains something that often worries homeowners: seeing some water in an exterior sill or track during wind-driven rain does not automatically mean the window has failed.
The important question is what happens next.
A working drainage system should direct that water outward rather than allowing it to remain trapped indefinitely or overflow toward the room.
Depending on the window design, the drainage route may include:
- an interior track or sill channel;
- one or more hidden frame chambers;
- exterior weep slots;
- small covers or movable baffles over the outlets;
- sloped portions of the sill that help move water toward the drain.
This is why simply applying more silicone whenever water appears can make the situation worse. Sealing the designed exit does not stop the water from entering the drainage system; it removes its way out.
Where Are Window Weep Holes Located?
Start at the bottom exterior edge of the frame.
A weep outlet may look like a narrow horizontal slot, a small rectangular opening, a round opening or a passage hidden beneath a small plastic flap or cover. Some windows also have drainage openings accessible from the interior track.
Do not expect every window to look identical.
Modern frames can use internal or concealed drainage routes, which means the outlet may sit beneath a sill lip instead of being obvious from the front. Some systems also use offset interior and exterior openings rather than one straight hole through the frame.
Drainage deserves particular attention on sliding aluminium windows and doors because the lower track, rollers, brushes, interlocks and drainage channels all have to work together. A clean exterior hole alone does not guarantee that the complete internal path is open.
The same principle applies to uPVC windows and doors. The profile may contain several chambers, so a visible slot on one face should never be treated as permission to drill straight through the frame.
What if you cannot see any weep holes?
Do not create them yourself.
First identify the window manufacturer or profile system if possible and inspect the underside of the exterior sill and the ends of the lower track. Look for concealed outlets, covers or manufacturer-specific drainage details.
Some windows simply use a different drainage arrangement, and not every window has externally visible weep slots.
How Do You Know If Window Weep Holes Are Clogged?
The strongest clue is water that remains in the lower track instead of draining away.
Other warning signs include:
| What you notice | What it can indicate |
|---|---|
| Water remains in the lower track long after rain | Blocked or slow drainage path |
| Dirt, paint or silicone visibly covers an exterior slot | Physical obstruction |
| Water drains from one side but not the other | Local blockage or uneven drainage path |
| Water reaches the room from the lower track during heavy rain | Drainage restriction, sash/seal issue or installation problem |
| The track is clean but no water reaches the exterior outlet during a controlled test | Hidden blockage or a drainage layout that needs manufacturer-specific inspection |
| Water enters around the head or upper jamb | Look beyond the weep system toward flashing, perimeter joints and installation |
| Moisture appears across the room-side glass on cold mornings | More consistent with condensation than a blocked drain |
| Fog remains between two panes of insulating glass | Insulating-glass seal issue, not a weep-hole blockage |
A simple drainage test
Clean and dry the track first so you can see what happens.
If the window design gives clear access to the drainage channel, add a small, controlled amount of clean water to the track and watch the exterior outlets.
Water should find its intended path outside.
If nothing appears outside, stop adding water. The purpose is to confirm drainage, not to flood an unknown frame cavity.
A drainage test is especially useful because it separates two different questions:
Is water entering the frame?
and
Can the frame remove that water correctly?
Those are not the same problem.
How to Clean Window Weep Holes Without Damaging the Frame
The safest cleaning method starts gently. The objective is to remove the obstruction, not redesign the drainage system.
1. Clean the track before attacking the hole
Vacuum loose dust, dead insects, sand and construction debris from the sill and track.
This matters because pushing a tool into a dirty drain can simply move loose debris deeper into the channel.
2. Identify the actual drainage opening
Confirm that the opening is genuinely part of the weep system.
Do not assume every seam, screw hole or profile opening is a drain.
If small exterior baffles or covers are fitted over the outlets, leave them in position unless the manufacturer specifically provides a removal procedure. A movable baffle can be part of the window’s strategy for drainage and air control.
3. Use a soft brush first
A small bottle brush, narrow nylon brush, pipe cleaner or similar flexible tool is usually enough for ordinary dirt.
Work the obstruction outward when possible instead of packing it farther into the frame.
4. Remove paint or sealant only from a confirmed weep opening
If someone has painted or caulked directly over a known drainage slot, expose the opening carefully.
Avoid scratching coated aluminium, vinyl surfaces or surrounding seals.
5. Test drainage again
Use another small amount of water and watch the outlet.
A successful cleaning should restore a visible drainage path without needing to enlarge the factory opening.
Do not use aggressive methods as your first solution
Avoid:
- pressure washers;
- high-pressure water directly into the track;
- drilling new drainage holes;
- enlarging existing holes;
- forcing screwdrivers or sharp wire deep into concealed channels;
- removing factory screens, flaps or baffles without knowing their purpose.
There is an important difference between clearing debris at an accessible opening and blindly pushing a hard object through a multi-chamber frame.
If a soft cleaning method and a controlled test do not restore drainage, identifying the actual frame design is safer than drilling.
Should You Caulk Window Weep Holes?
No. A confirmed weep opening must remain able to drain.
This is where many otherwise careful window repairs go wrong.
A homeowner sees a small exterior slot, assumes it is allowing rain or insects into the window, and fills it with silicone. During the next storm, water that enters the normal drainage chamber can no longer escape properly.
The track then behaves like a container with its outlet plugged.
Paint, stucco, roofing compounds and other building materials can cause the same problem if they cover the openings during renovation.
But this does not mean every bottom window joint must always stay uncaulked
This distinction matters.
The factory weep opening in the frame and the installation joint between the window and the surrounding wall or trim are two different details.
Do not apply a universal rule such as “never caulk the bottom of any window” to every window type and every installation.
Perimeter sealing requirements depend on the window system, flashing arrangement, wall assembly and manufacturer’s installation instructions. Some assemblies intentionally maintain a drainage route below the unit; others use different sill and flashing details.
The reliable rule is narrower:
Never cover a designed drainage opening or block a drainage path. Follow the installation detail for everything around it.
That single distinction prevents a surprising number of incorrect repairs.
Why Is Water Still Leaking After the Weep Holes Are Clear?
Clear weep holes prove only one thing: the accessible drainage outlets are not obviously blocked.
They do not prove that the rest of the installation is watertight.
A window is part of a larger water-management system that includes the frame, sash, seals, sill, perimeter joints, flashing and wall drainage plane.
In the United States, AAMA/WDMA 100-26 addresses installation of mounting-flange windows in membrane drainage wall systems. Its underlying principle is important even outside that particular scope: incidental water has to be managed through a coordinated path from the opening back to the exterior.
Water enters at the top or upper corners
Suspect the area above the sill rather than immediately modifying the weep holes.
Possible areas to inspect include:
- head flashing;
- wall cladding above the opening;
- perimeter sealant;
- jamb joints;
- the connection between the window and the water-resistive layer.
Water can enter higher in the wall and only become visible near the bottom of the window.
The window leaks only in strong wind-driven rain
Check more than the drain opening.
Wind pressure can expose weaknesses in sash closure, weatherstripping, interlocks, frame corners and installation joints. It can also place much more water into the drainage system than light vertical rain.
Confirm that the sash is completely closed and locked before diagnosing the window.
The weeps drain, but water still overflows inward
A clear outlet does not necessarily mean the entire internal channel is clear or correctly assembled.
Look for:
- debris deeper in the track;
- displaced drainage covers;
- frame deformation;
- blocked internal passages;
- an out-of-level sill;
- damaged weatherstripping;
- poor sash adjustment;
- installation or flashing defects.
Do not enlarge the outlet in an attempt to increase capacity unless the window manufacturer or a qualified technician specifically confirms that modification.
The problem is condensation
Weep holes cannot correct excessive indoor humidity.
If moisture forms across the interior face of the glass or frame during cold conditions, investigate indoor humidity, ventilation and interior surface temperature.
If moisture or fog is trapped between panes of insulated glass, cleaning the drainage system will not repair the insulating-glass seal.
Do All Windows Have Weep Holes?
No.
Drainage design varies with the frame material, window type and manufacturer.
Many aluminium and vinyl/uPVC systems use recognizable weep openings because their tracks and frame chambers need a controlled route for water to escape. Other products may use sloped sills, concealed drainage, different pressure-equalized cavities or another manufacturer-specific detail.
This is why copying the hole arrangement from a neighboring window—or drilling where another brand has a drain—is a poor repair method.
Treat the frame as an engineered system.
If an opening has a cover, screen or flap, assume it has a purpose until you confirm otherwise.
A 60-Second Weep-Hole Check Before the Next Heavy Rain
Use this quick sequence:
- Open the window and vacuum the lower track.
- Locate the exterior drainage outlets without removing factory parts.
- Check for dirt, insects, paint, stucco or sealant over the openings.
- Clear accessible debris with a small soft brush or pipe cleaner.
- Make sure any factory baffles can move normally.
- Use a small controlled water test where the window design allows it.
- Confirm that water reaches the exterior rather than remaining in the track.
- If water still enters the room, stop treating it as a simple cleaning problem and inspect the sash, seals, flashing and installation.
- Never drill a new hole or apply silicone over a known drain merely because the opening looks unusual.
A useful question for a window technician is:
“The weep outlets are clear and the track drains during a controlled test. Can you check the frame corners, sash seals, perimeter joint, sill level and flashing before recommending replacement?”